


Resource Center
How to Clean the Exxus GO Plus

Continue With This Resource
Exxus Quick Brief
What You Should Know
A quick rundown of the main points, questions, and guidance you'll find in this guide.
Overview
Key Takeaways
- The Exxus GO Plus uses a coil-less quartz tank, a 5200mAh battery, and a high temperature range up to 932F.
- A weekly clean is a good habit, and more often if you dab every day.
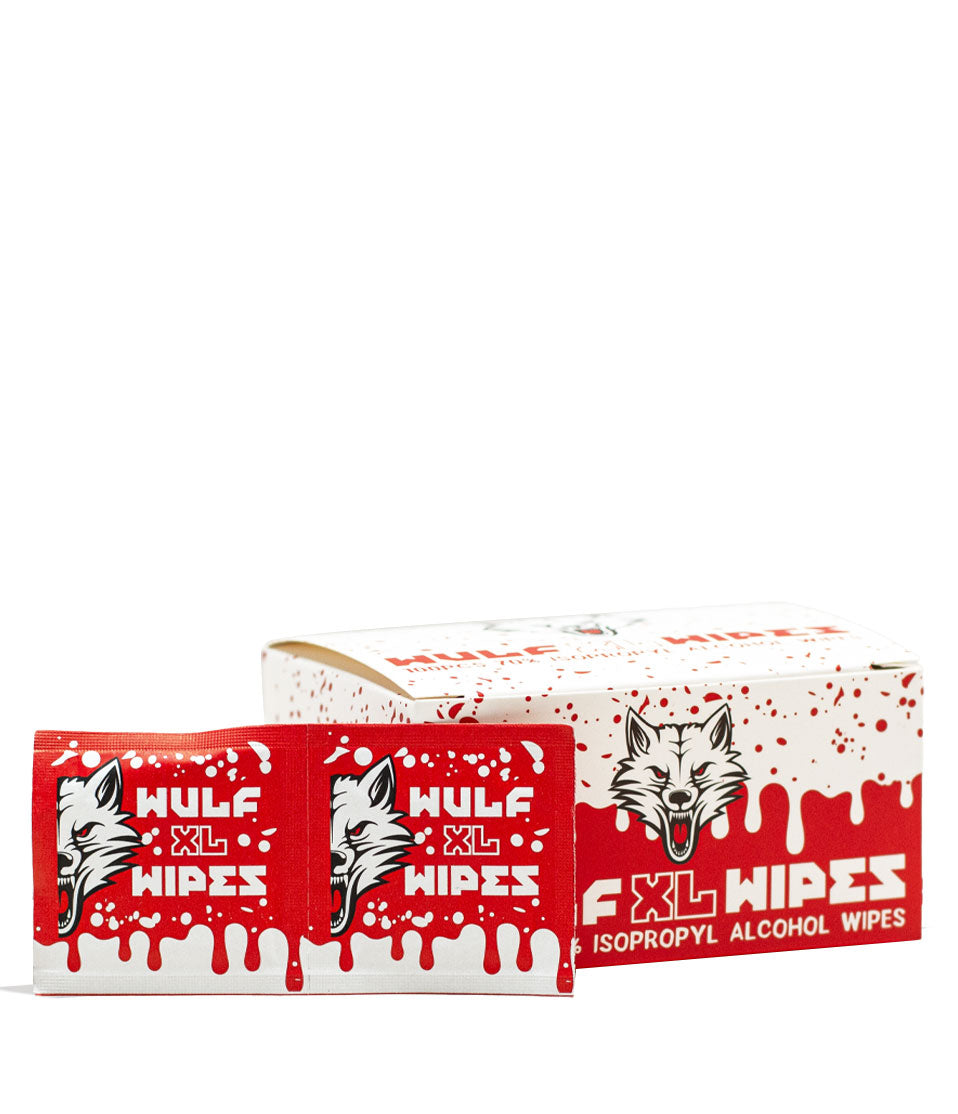
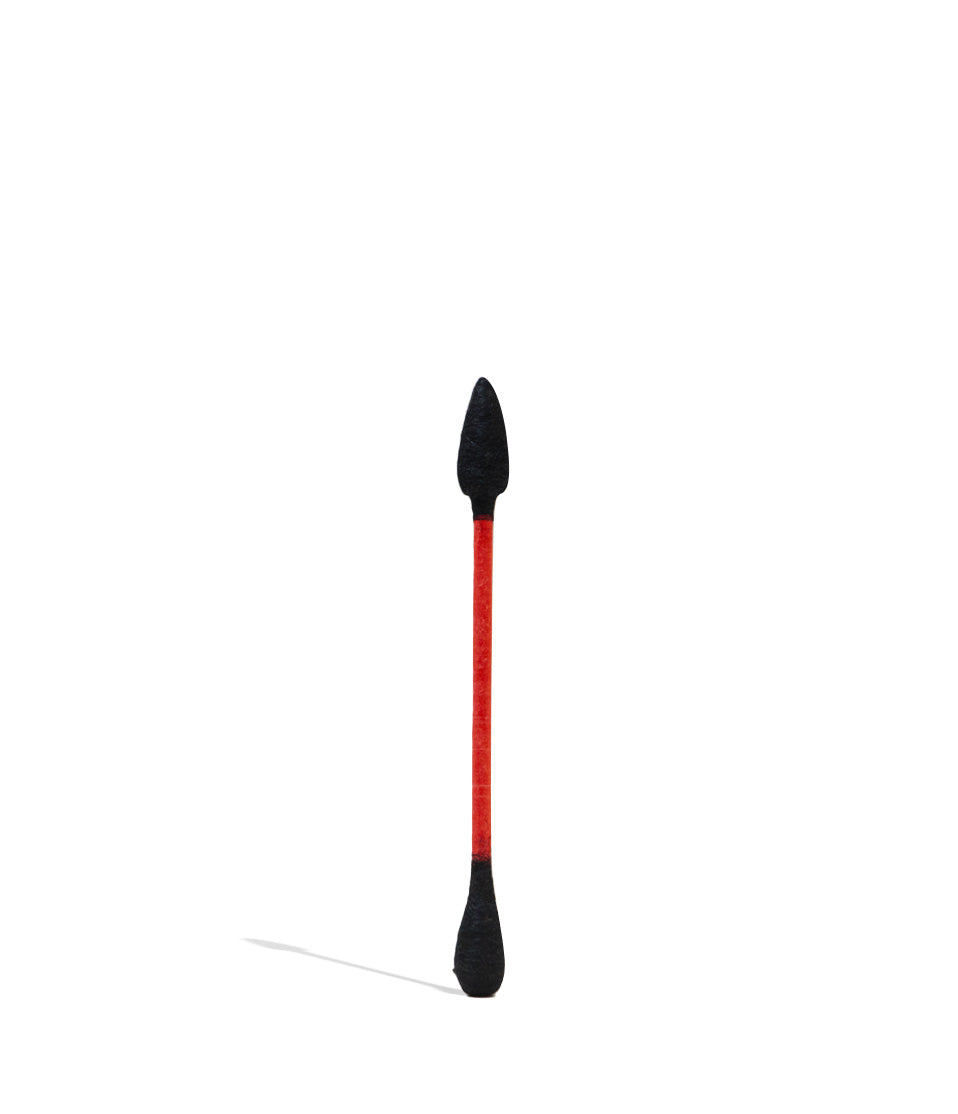
- Remove the glass bubbler and quartz cup, then wipe the chamber with an alcohol dipped cotton swab.
- Flush the bubbler by filling the mouthpiece with isopropyl alcohol, then rinse with water and shake out the excess.
- Clean the screw connection with an alcohol swab and let all parts air dry completely before reassembly.
- Lower temperatures favor flavor, while higher temperatures produce bigger, thicker clouds.
Questions This Resource Answers
- How do you clean the Exxus GO Plus?
- How often should you clean the GO Plus?
- How do you clean the glass bubbler?
- What temperature should you use on the GO Plus?
Recommended Products
Shop Cleaning
Shop the devices and gear called out in this guide.

How-To
Complete How-To
Below, the full guide builds on the quick brief with detailed product considerations and buying guidance to steer your choice.
Congratulations! You have been enjoying your dab sessions with the Exxus GO Plus—a true customer favorite. When you notice that your GO Plus device is filled with old wax residue, it is time for a clean-up. The GO Plus Concentrate Vaporizer has a coil-less quartz tank, 5200mAh battery, and 932°F for extremely high temperatures. With so many advanced features, a weekly clean-up is recommended (mostly if you take dabs daily). Here’s how to clean your GO Plus:
Step 1: Disassembling & Wiping
Begin by removing the glass bubbler and detaching the coil-less quartz cup from the base. Grab a cotton swab dipped in alcohol to delicately wipe away any accumulated debris or residue. When you finish wiping the chamber, put it aside and let it dry for better results.
For bubbler maintenance, fill the mouthpiece with isopropyl alcohol until a quarter of the unit is filled. Next, rinse the alcohol away and pour water into the mouthpiece to flush out any remaining residue. To expel excess water from the bubbler, blow through the mouthpiece and gently shake the device. Allow the glass bubbler to air dry as well.
Make sure to also clean the screw connection using a cotton swab soaked in alcohol. Let it air dry completely before reattaching the heating chamber.
Step 2: Dried & Ready for Attachment
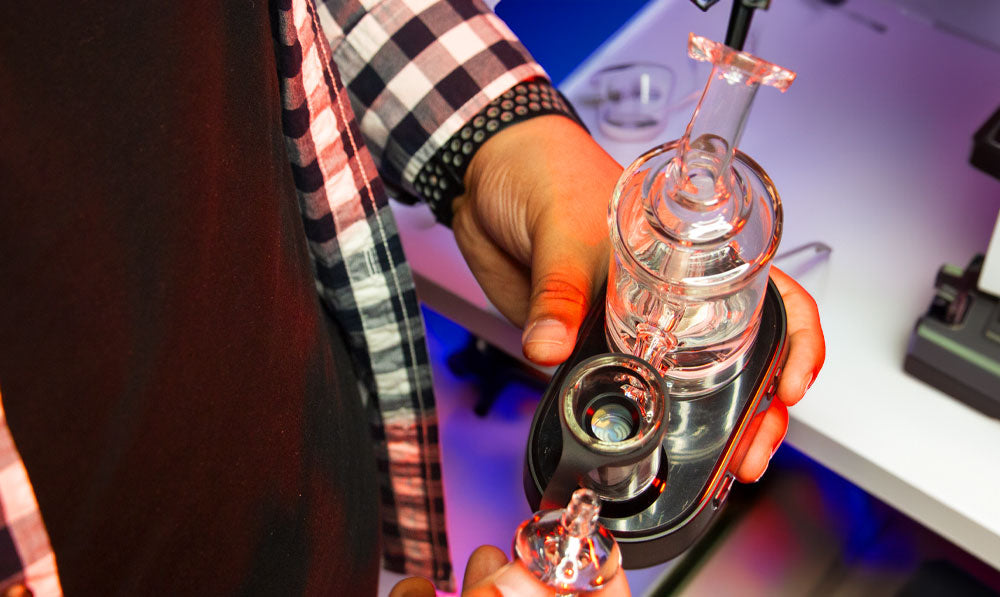
Once time has passed and all components are completely dried, the first thing you’ll need to attach is its coil-less quartz cup. Then, magnetically connect the bubbler to the base and ensure the carb cap and tether are also attached.
Step 3: Choose Your Temperature & Take a Puff!
The Exxus GO Plus may seem complicated to clean, but we promise it’s as easy as one, two, three! It all takes time and patience. If you’re the kind of dabber who enjoys luscious clouds from your extracts, we recommend going all out and reaching your temperature to the highest. However, if you enjoy savoring the potency and flavors of your concentrates, we suggest keeping your temperature to a minimum level. So what are you waiting for? Go ahead and take a puff!
At Exxus Vape, we are committed to providing thorough vaping knowledge and fun tips you need to know. Whether you’re searching for the perfect vaporizer, need guidance on cleaning a particular device, or want to enhance your sessions affordably, we aim to ensure your satisfaction. Explore our Vaporizer Blog for detailed insights and valuable tips.
Frequently Asked Questions
How-To FAQs
Common questions about this guide and how to put the information to work when choosing your device.
How do I clean the Exxus GO Plus?
How often should I clean it?
How do I clean the glass bubbler?
What temperature should I use?
Exxus Trust Center
About This Resource
A quick look at how the Exxus team researches, reviews, and keeps this resource current.
Editorial Standards
- Written for the vapers actually shopping for and using this gear.
- Checked for accuracy, clarity, and real everyday usefulness.
- Built on the latest maker specs and official docs whenever we have them.
- Kept current as devices, rules, and the category keep moving.
- Backed by real hands-on time with the hardware.
- Made to help you land on the right device without second-guessing.
Research Methodology
Every step here comes from actually running the device, not skimming a manual. We break down setup, daily use, and the small tricks that make each session smoother, so you can follow along at home with zero guesswork.
- Real time spent with the device
- Setup and first session walkthrough
- Cleaning, upkeep, and quick fixes
- Answers to the questions people actually ask
- Safe, responsible operation
- How it holds up in daily use
- A final read for clarity and accuracy
Article Information
Intended Audience
- Everyday customers
- First-time buyers
- Experienced enthusiasts
- Dry herb users
- Concentrate users
- Anyone upgrading their setup
Editorial Policy
The Exxus Resource Center gets a regular once-over so the guidance stays reliable. As devices evolve, rules change, or the category shifts, we revisit articles and stamp them with a fresh review date. Real guidance you can lean on, session after session.
Keep Exploring
Related Resources
Continue with more Exxus resources chosen to help you get even more from your device.
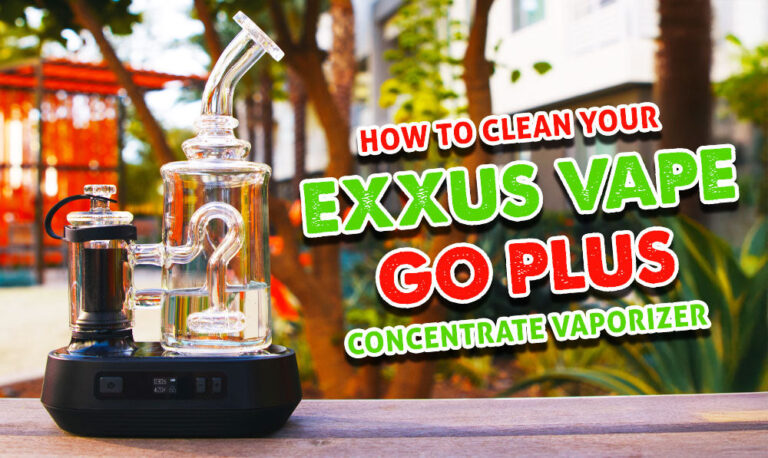
How-To
Keep your Exxus Vape Go Plus Concentrate Vaporizer firing on all cylinders with our insider tips on how to keep your favorite d...
Read Resource →
How-To
Clean the Exxus VRS for upkeep and maintenance. To maintain performance and delivery, the VRS must be cleaned after every use. ...
Read Resource →
How-To
Avoid exposing wax concentrate to high temperatures, as it can compromise its potency and flavor. Discover effective methods fo...
Read Resource →
How-To
Worried about under or over loading your dab rig? Exxus Vape is coming to the rescue with our break down of how to properly pac...
Read Resource →